Happy Thanksgiving!
I wish our culture appreciated the spirit of Thanksgiving more. The holiday tends to get lost between Halloween and Christmas, with more emphasis on consumerism and Black Friday and football and stuffing our faces with delicious food than slowing down and appreciating our many blessings.
Our Thanksgiving this year will be quiet (hopefully) and peaceful, with much reflection on how much better off I am now than I was in 2022. I certainly can be grateful for having hair!
I wish for you much joy in the holiday. If you’re not in the U.S., you can still take a moment to offer up thanks to God or the universe or whatever force you believe in.
Today’s card uses a fun autumnal embossing folder, as well as an adorable stamp and die set by Julie Ebersole called Fallish from Ellen Hutson. The images were colored with Copics.
Update
The very kind Marilyn asked for an update. I’m doing much better. My mood has improved, I have more energy, and all the symptoms left over from chemo and radiation are about 85% better. So yay!!!! My semester is going extremely well, with my face-to-face class pure joy. The online teaching experience is better than I expected but still not as much fun as being in person with students.
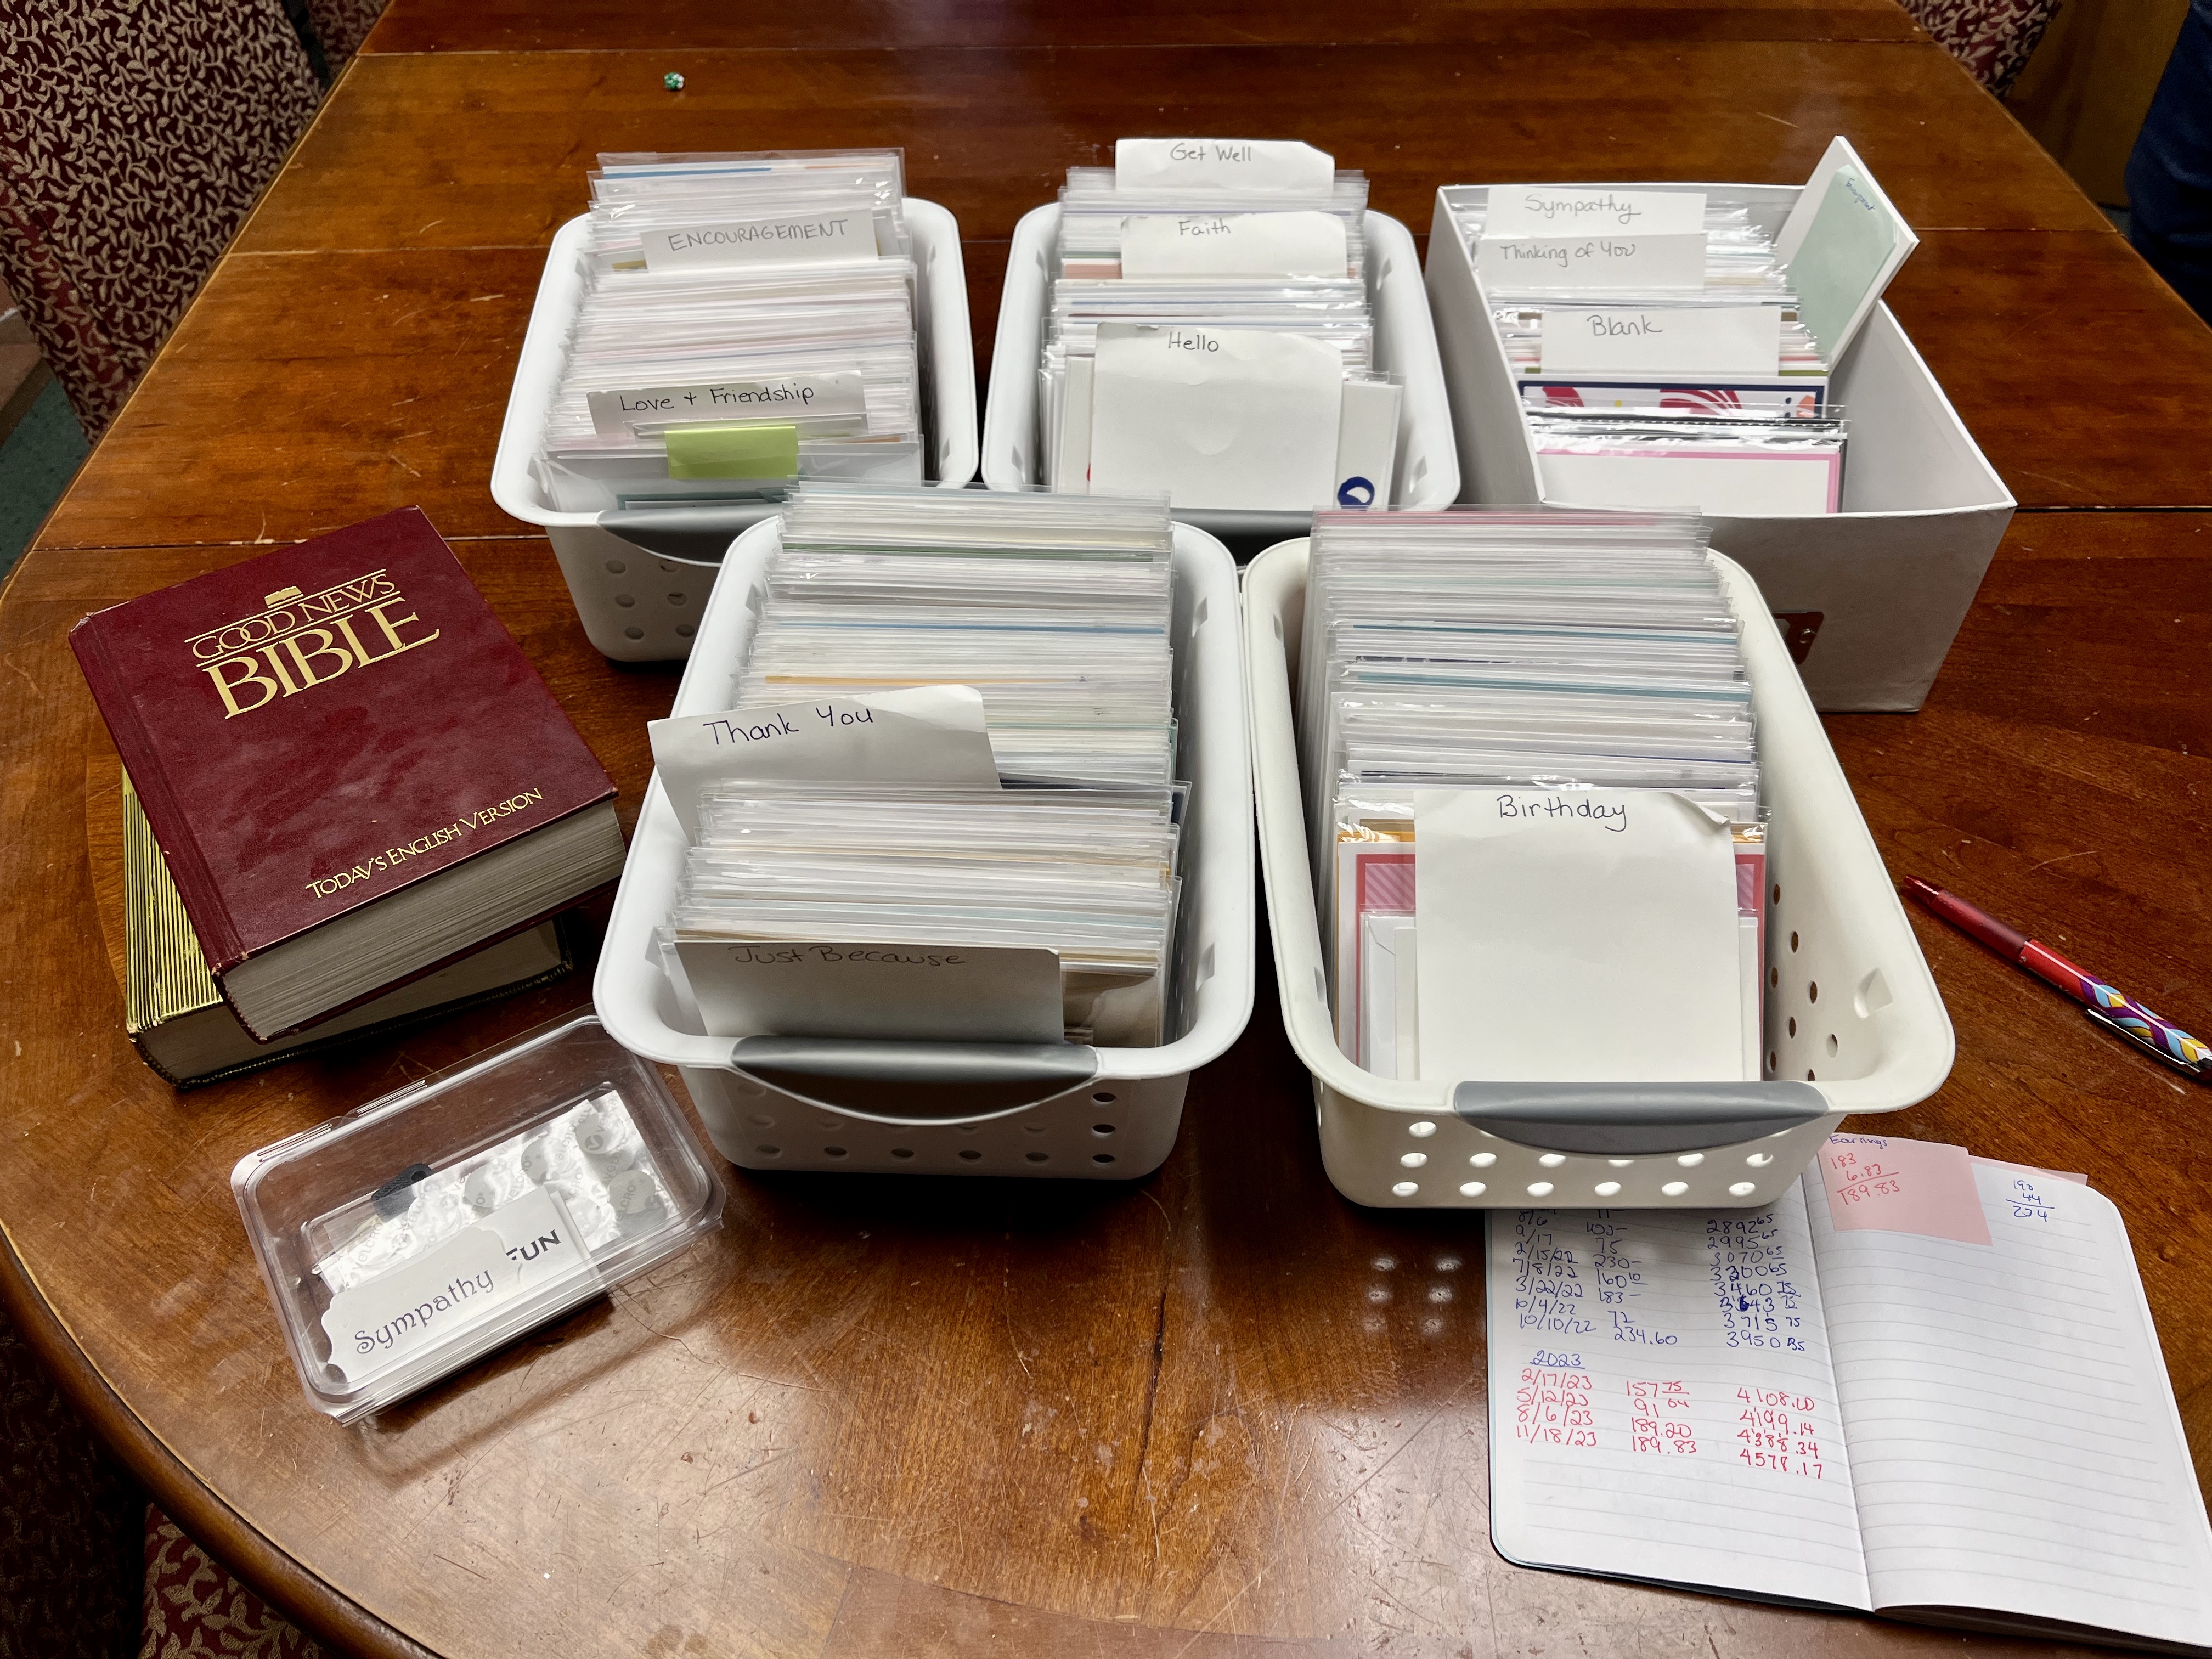
Also, Karen’s Card Shop is thriving, with over $4,500 in sales since it started in 2016 (I think! The years are blurring a bit.). I’ve actually felt like making cards for the shop recently, but one person can’t keep this show going. So many of you have donated, and First United Methodist Church is incredibly grateful for your kindness and generosity.
Here’s the shop itself, painted black a few years ago, and the cards just pop right off that black background. It’s in a very high-traffic area near the church offices. We also added a locked cash box on the wall when a few hundred dollars went missing in 2021.
If you have cards and want to donate, please check out my page on Karen’s Card Shop. It’s been a while since I updated the page, so the pictures and some information are out of date. We are most in need of get well, thinking of you, and sympathy cards. We do not carry Christmas cards or other holidays…they just don’t sell. Please do not stamp sentiments inside the cards as I package the cards in clear bags so people can’t see the sentiment before buying. I will supply the envelopes. Email me at susanraihala at roadrunner.com for my address. And thanks in advance!
Mercy, grace, peace, love, and gratitude,
Susan